Start small. Finish the first page.
A stamp collection begins best when the task is narrow enough to complete. Do not try to identify every stamp in the house. Build one clean, safe, labelled group and let momentum do the rest.
Decide what counts as the first collection
Start by defining a collection as a selected group of stamps kept together for a reason. That reason can be a country, a subject, a postmark, a design style, a postal service or a family envelope. The definition matters because it tells you what to include and, just as importantly, what to leave for later.
Use a plain instruction: collect the stamps that match one visible feature. If you choose birds, do not add ships because they are attractive. If you choose British definitives, do not add commemoratives because they were in the same packet. This is not severity. It is protection against the early-stage sprawl that makes many new albums feel impossible.
Gather basic tools before handling
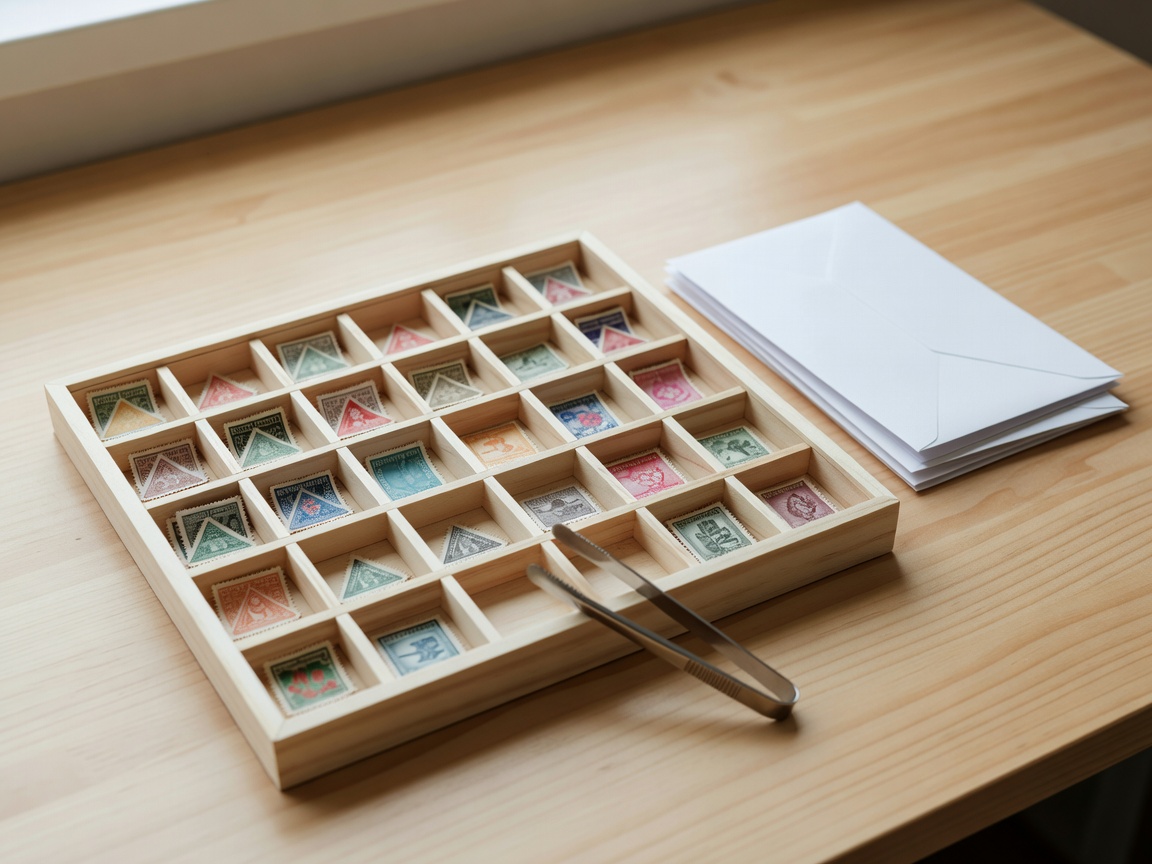
Stamp tongs are smooth-ended tweezers made for lifting paper without pinching it. Use them instead of fingers, because skin oil and pressure can mark paper and gum. A stock book is a bound book with horizontal strips that hold stamps without adhesive. A stock card is the same idea on a single card. A magnifier helps you inspect printing, perforations and small lettering. A perforation gauge measures the spacing of the tiny holes around a stamp, but it can wait until you need it.
- Clear a dry table and keep food, drinks and tape away from it.
- Put duplicates, damaged examples and uncertain items into separate envelopes.
- Handle each stamp by the edge with tongs.
- Write temporary labels in pencil on paper slips, not on the album page beside a stamp you may move.
- Stop when one group is sorted rather than opening another packet for excitement.
Choose a safe first storage method
A stock book is the simplest first home because it lets you move stamps as your understanding changes. Hinges are small folded strips of gummed paper used to attach stamps to album pages. They are traditional, but they can disturb unused gum and leave marks. Mounts are clear protective sleeves fixed to a page; they suit stamps you intend to display in a more permanent arrangement. For a beginner, stock pages reduce risk because decisions remain reversible.
Keep album pages flat, dry and away from strong light. Do not press stamps under heavy books to make them behave. Curled paper often needs careful storage, not force. If a stamp is on envelope paper, leave it attached until you understand why it might matter; a complete cover can carry route, cancellation and postal-use evidence that a soaked-off stamp loses.
Make the first identification practical
Identification means working out what a stamp is: issuing country or postal authority, design type, face value, printing variation where relevant, and whether it is mint or used. Mint means unused. Used means it has been through the post or has a cancellation. Do not chase every variety immediately. Begin with what is printed on the stamp and what you can see clearly.
If the wording is unfamiliar, search by visible text, portrait, symbol and face value. If there is no country name, remember that many British stamps historically did not print the country name in the same way as other countries because the monarch’s portrait served as identification. That single fact helps many new collectors avoid a false mystery.
Use duplicates as training material
Duplicates are not failures. They let you compare centring, cancellation, colour shade, paper condition and perforation damage without risking a favourite stamp. Put the best example in the main group and keep the rest in a clearly marked duplicate envelope. Later, duplicates may become swap material, reference examples or proof that one stamp is not as good as it first appeared.
Keep going
Finish one page, then write the reason for that page at the top. You are not merely storing stamps. You are giving yourself a visible result, and visible results make the next sorting session easier to begin.